")
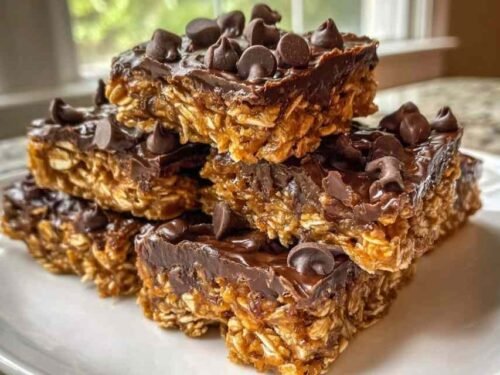
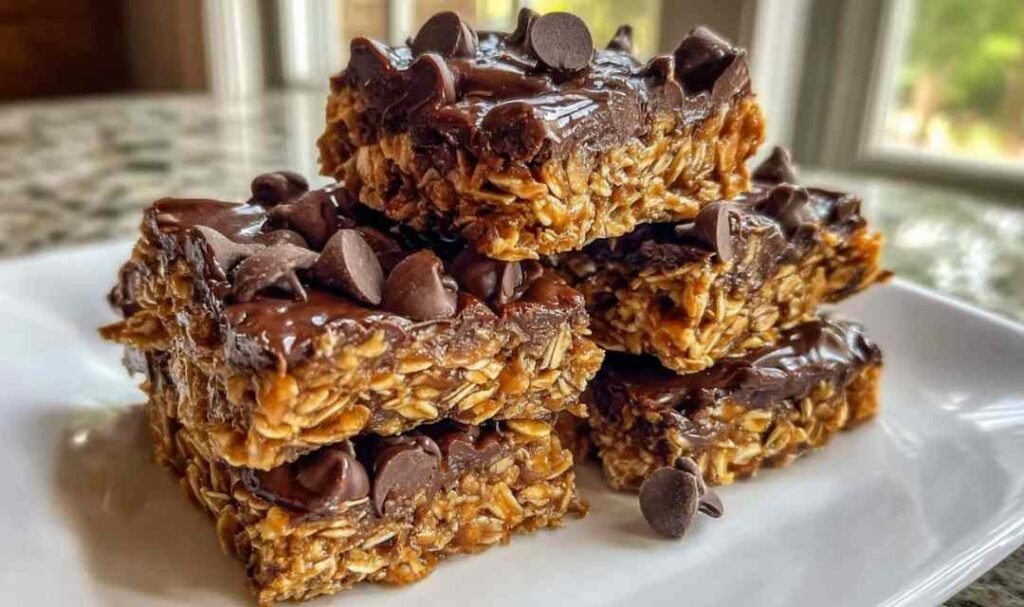
These 5-Ingredient No-Bake Protein Bars are the snack that changed how I handle busy weeks. Chewy, peanut-buttery, and packed with 15 grams of protein each, they take 10 minutes of prep and need zero oven time. I started making a batch every Sunday and it fixed the 3pm crash problem I had been ignoring for way too long.
I used to buy protein bars out of habit until I looked at the ingredient list one day and realized I could make something better with what was already in my pantry. Rolled oats, natural peanut butter, protein powder, and a little honey. That first batch came out better than I expected and the texture was exactly what I had been paying extra for in the store version. These no-bake protein bars have been on my weekly prep list ever since.
Make this tonight!
Table of Contents
Ingredients for 5-Ingredient No-Bake Protein Bars
I always keep these five pantry staples stocked because they pull double duty in so many recipes. Here is everything you need for this batch:
- 1 cup rolled oats (I recommend old-fashioned rolled oats over quick oats for a chewier, more substantial bite that holds up after chilling)
- 1/2 cup natural peanut butter (natural peanut butter is required here because the natural oils are what bind the bars together; my preference is the kind with just peanuts and salt and no added sugar or oil stabilizers. If you love peanut butter in savory dishes too, this Thai Peanut Chicken Buddha Bowl uses it in a completely different way worth trying)
- 1/2 cup protein powder, vanilla or unflavored (pro tip: the quality and type of your protein powder matters more than you might expect since it directly affects both the texture and the flavor of the finished bar)
- 1/4 cup honey or maple syrup (use maple syrup for a fully vegan bar; in my experience both work equally well as a binder and the flavor difference is subtle)
- 1/4 cup dark chocolate chips, optional topping (I usually add these because they turn the bars from plain fuel into something that actually feels like a treat)
If you enjoy high-protein meal prep recipes that use simple ingredients like these, this Cottage Cheese Protein Pasta Bake is another great option to add to your weekly rotation. And if you are exploring a lower-carb lifestyle, swapping the oats for almond flour pairs well with the same approach used in this Low-Carb Burrito Bowl for keeping meals clean and macro-friendly throughout the week.
Step-by-Step Instructions
In my experience, two things make or break this recipe: pressing the dough down firmly enough and chilling the bars completely before cutting. Do not rush either step.
Step 1: Line an 8×8 inch baking pan with parchment paper, leaving an overhang on both sides. This overhang is how you lift the whole block out cleanly after chilling.
Step 2: Add the rolled oats, protein powder, and peanut butter to a medium mixing bowl. Stir until combined. The mixture will be thick and stiff at this point, which is expected.
Step 3: Pour in the honey or maple syrup. Stir until everything comes together into a uniform dough. If the mixture feels too dry and crumbles when you press it, add one teaspoon of water or milk at a time until it just holds together. Do not add too much or the bars will stay soft and not set properly.
Step 4: Transfer the dough into the prepared pan. Press it down firmly and evenly using the flat bottom of a measuring cup. The more compact you press it, the cleaner and firmer your bars will be after chilling.
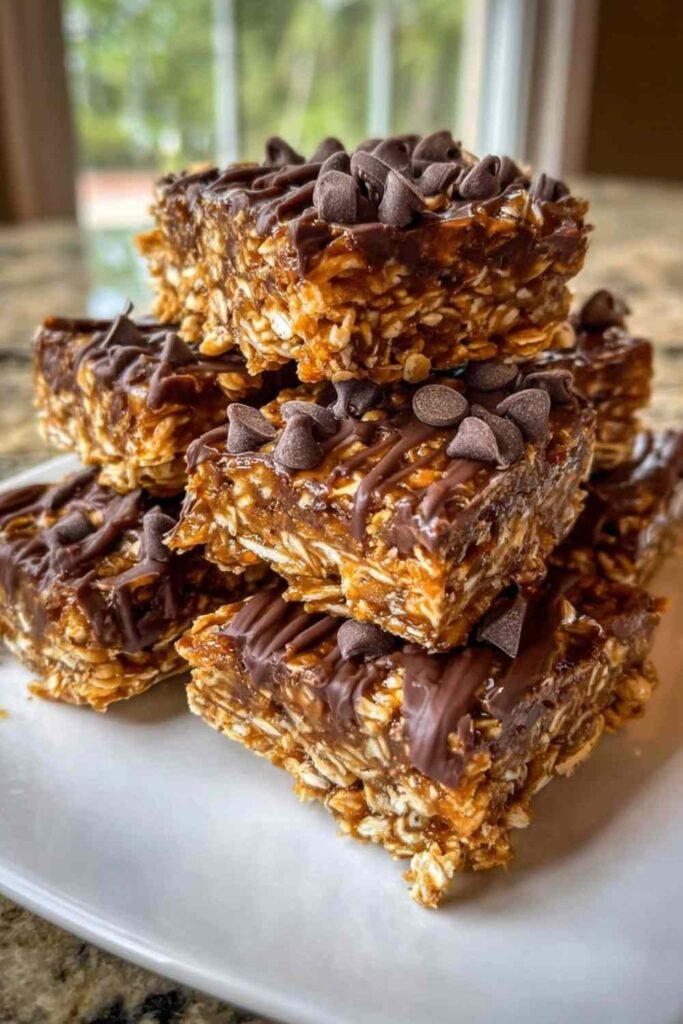
Step 5: If using the chocolate topping, melt the dark chocolate chips in a microwave-safe bowl in 30-second intervals, stirring between each round, until fully smooth. Spread evenly over the surface of the pressed dough.
Step 6: Place the pan in the refrigerator. Chill for at least 1 full hour until completely firm. Do not try to cut them before the full hour is up or they will crumble and fall apart.
Step 7: Use the parchment overhang to lift the block out of the pan. Run a sharp knife under hot water, wipe it dry, and slice into 10 to 12 equal bars.
Best Ways to Enjoy Your No-Bake Protein Bars
These bars are flexible enough to work as a standalone snack or as part of a bigger meal moment. Here are some of the best pairings and serving ideas:
With a Protein Smoothie: Pairing a bar with a blended protein smoothie before a workout creates a balanced pre-exercise combination without sitting too heavy in your stomach.
With Greek Yogurt and Fresh Berries: Crumble half a bar over a bowl of plain Greek yogurt with sliced banana or fresh berries for a quick, high-protein breakfast that takes under two minutes to assemble.
Alongside a Protein Banana Pudding: If you are building a high-protein snack tray for the week, these bars pair naturally with this Protein Banana Pudding for a complete no-bake protein prep session in one afternoon.
With Baked Blueberry Cottage Cheese Bowls: For a full high-protein breakfast spread that requires zero cooking, these bars alongside these Baked Blueberry Cottage Cheese Bowls cover both sweet and creamy textures in a really satisfying way.
With Breakfast Protein Biscuits: If you are doing a full Sunday prep session, baking a batch of these Breakfast Protein Biscuits alongside your protein bars means you have high-protein grab-and-go options for both mornings and afternoons covered for the whole week.
As a Post-Dinner Treat: One bar after dinner satisfies the craving for something sweet without pushing your macros off course. The dark chocolate topping makes this feel close enough to dessert when you need it.
How to Store and Serve These Bars
Store the finished bars in an airtight container in the refrigerator for up to one week. I recommend placing a small piece of parchment paper between each bar to keep them from sticking together and to make grabbing one on the go much easier.
For longer storage, freeze them. Layer the bars between parchment sheets inside a freezer-safe bag and freeze for up to two months. To thaw, pull one out the night before and let it sit in the fridge overnight, or leave it on the counter for about 15 to 20 minutes before eating.
Pro tip: these bars taste best cold or at room temperature. Avoid microwaving them since the peanut butter can separate and the texture gets greasy quickly when heat is applied. If you enjoy this kind of structured weekly meal prep, this High Protein Low Calorie Stuffed Bell Peppers recipe is another great Sunday prep option that stores just as well through the week.
Conclusion
These no-bake protein bars prove that eating well does not have to be complicated or time-consuming. Five ingredients, ten minutes of prep, and one hour of chilling give you a full week of satisfying high-protein snacks ready to grab whenever you need them. Make a batch this weekend and see how much easier your week gets. Happy snacking!

Easy 5-Ingredient No-Bake Peanut Butter Protein Bars
Ingredients
Equipment
Method
- Line an 8×8 inch baking pan with parchment paper, leaving an overhang on both sides for easy removal after chilling.
- Add the rolled oats, protein powder, and peanut butter to a medium mixing bowl. Stir until combined. The mixture will be thick and stiff.
- Pour in the honey or maple syrup. Stir until a uniform dough forms. If the mixture is too dry and crumbles when pressed, add one teaspoon of water or milk at a time until it just holds together.
- Transfer the dough into the prepared pan. Press firmly and evenly using the flat bottom of a measuring cup until the surface is compact and smooth.
- If using chocolate topping, melt the dark chocolate chips in a microwave-safe bowl in 30-second intervals, stirring between each, until fully smooth. Spread evenly over the surface of the pressed dough.
- Place the pan in the refrigerator and chill for at least 1 full hour until completely firm throughout.
- Use the parchment overhang to lift the block out of the pan. Run a sharp knife under hot water, wipe dry, and slice into 10 to 12 equal bars.


")